Do you crave a sweet treat that’s easy to make and vegan-friendly? Look no further! My Vegan Chocolate Chip Blondies recipe is not just simple; it’s delicious. With just a few healthy ingredients, you can whip up a chewy, satisfying dessert that everyone will love. So, roll up your sleeves and let’s dive into this delightful dessert together! You won’t want to miss out on this guilt-free indulgence.
Why I Love This Recipe
- Healthier Indulgence: These blondies are a guilt-free treat, made with wholesome ingredients like almond butter and oat flour, making them a healthier alternative to traditional desserts.
- Quick and Easy: With just a few simple steps and minimal prep time, you can whip up a batch of these delicious blondies in no time, perfect for busy days!
- Customizable Delights: You can easily modify the recipe by adding your favorite nuts or dried fruits, allowing you to create a unique flavor each time you bake.
- Rich and Decadent: The combination of creamy almond butter and dairy-free chocolate chips creates a rich, satisfying flavor that will satisfy any sweet tooth.
Ingredients
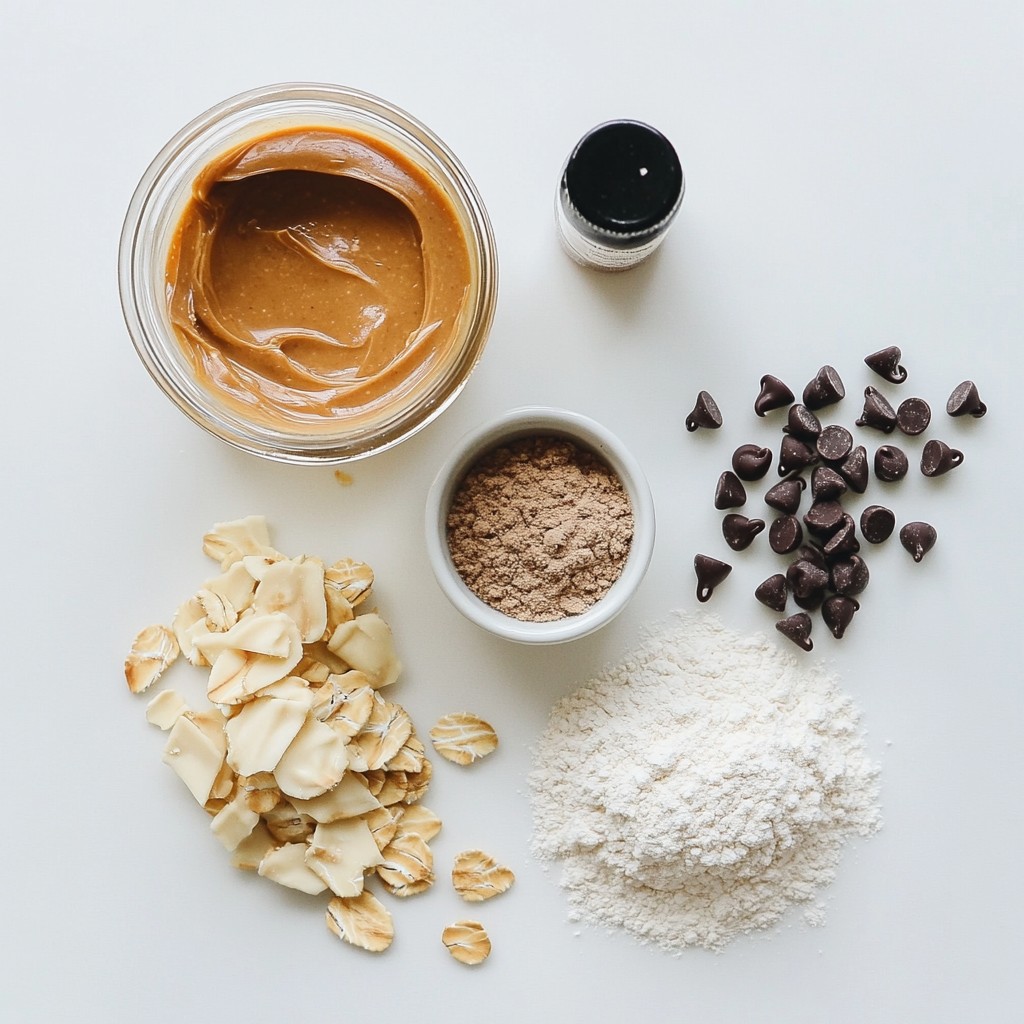
To make vegan chocolate chip blondies, you will need simple, wholesome ingredients. Here is what you will need:
- 1 cup creamy almond butter
- 1/2 cup pure maple syrup
- 1/4 cup coconut sugar
- 1 teaspoon pure vanilla extract
- 1 teaspoon baking soda
- 1/4 teaspoon Himalayan salt
- 1 cup oat flour (or finely blended rolled oats)
- 1/2 cup dairy-free chocolate chips
- 1/4 cup chopped walnuts (optional)
Each ingredient plays a key role in creating the perfect blondie. The creamy almond butter provides richness and moisture. The maple syrup and coconut sugar offer natural sweetness. Vanilla extract adds a warm flavor, while baking soda helps the blondies rise. The salt enhances all the flavors.
Oat flour gives a great texture, and the chocolate chips add a touch of indulgence. If you want a bit of crunch, toss in some chopped walnuts. They make the blondies even more delightful. Enjoy gathering these ingredients!
Step-by-Step Instructions
Preheating and Preparing the Pan
- Preheat the oven to 350°F (175°C).
- Prepare an 8x8 inch baking pan. Line it with parchment paper, leaving some paper overhanging.
Mixing the Wet Ingredients
- In a large bowl, combine 1 cup of creamy almond butter, 1/2 cup of pure maple syrup, 1/4 cup of coconut sugar, and 1 teaspoon of pure vanilla extract.
- Whisk the mixture until smooth and well combined.
Incorporating Dry Ingredients
- Sprinkle in 1 teaspoon of baking soda and 1/4 teaspoon of Himalayan salt. Mix well to blend.
- Gradually fold in 1 cup of oat flour. Mix until just combined. Avoid overmixing to keep your blondies light.
Adding Chocolate Chips and Walnuts
- Gently fold in 1/2 cup of dairy-free chocolate chips. Add 1/4 cup of chopped walnuts if you like some crunch.
Baking Process
- Pour your batter into the prepared pan. Use a spatula to evenly spread it out.
- Bake for 25-30 minutes. The edges should turn golden brown. Check doneness by inserting a toothpick.
Cooling and Serving
- Cool the blondies in the pan for about 10 minutes.
- Lift them out using the parchment paper. Transfer to a wire rack to cool completely.
- Slice into 16 squares and enjoy your vegan chocolate chip blondies!
Tips & Tricks
Achieving the Perfect Texture
To get the best blondies, avoid overmixing the batter. Mixing too much makes them dense. Just stir until you see no dry flour. For testing doneness, use a toothpick. Stick it in the center. If it comes out clean or with a few moist crumbs, your blondies are ready.
Customizing for Different Preferences
You can adjust sweetness with maple syrup. Add more for a sweeter treat or less for a milder flavor. You can also switch nut butters. Try peanut butter or sunflower seed butter for a new taste. Each choice brings a different flavor twist.
Presentation Tips
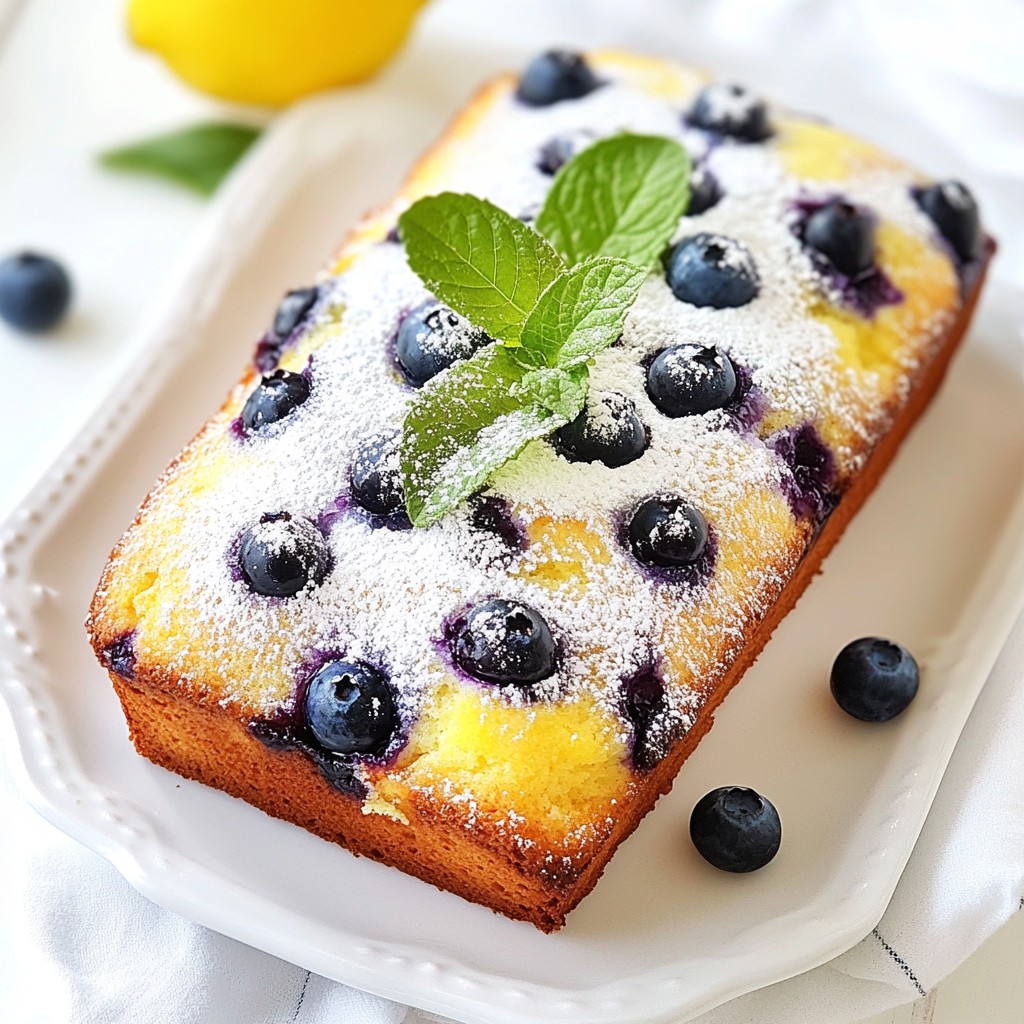
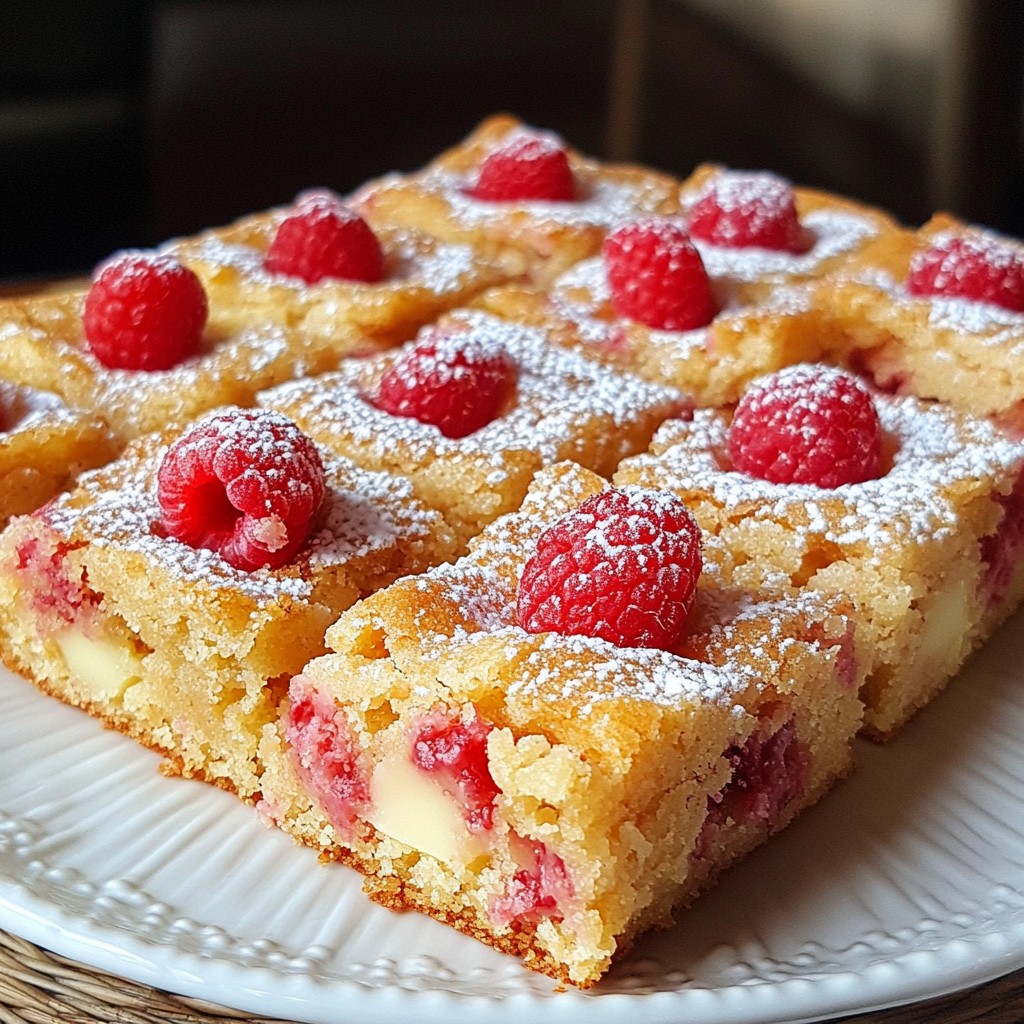
For a beautiful look, serve these blondies on a nice platter. Dust them with powdered sugar for elegance. You can also scatter a few chocolate chips on top. Adding walnut halves enhances the visual appeal and adds texture.
Pro Tips
- Storage Secrets: Keep your blondies fresh by storing them in an airtight container at room temperature for up to 5 days, or in the fridge for up to a week.
- Perfect Texture Tip: For a softer blondie, make sure not to overbake. Check for doneness a few minutes early to ensure they remain fudgy in the center.
- Substitution Ideas: If you don't have almond butter, feel free to use any other nut or seed butter, like cashew or sunflower seed butter, for a different flavor profile.
- Flavor Boost: Enhance the flavor by adding a pinch of cinnamon or nutmeg to the batter for a warm, spicy twist that complements the chocolate.
Variations
Ingredient Substitutions
You can swap coconut sugar with other sweeteners. Try brown sugar or agave syrup. These choices add their own unique taste. Use them as a one-to-one substitute.
Flour choices can also vary. If you don’t have oat flour, use almond flour or whole wheat flour. Each flour brings a different flavor and texture. Experiment to find what you like best.
Flavor Additions
Adding spices can make your blondies extra special. A pinch of cinnamon or nutmeg can enhance the taste. These spices add warmth to every bite.
You can also include dried fruits or nut butters. Chopped dates or cranberries add sweetness and texture. Swapping almond butter for peanut butter gives a new flavor twist.
Allergen-Free Options
For a nut-free recipe, use seed butter. Sunflower seed butter works well and keeps the blondies creamy.
If you need gluten-free options, use certified gluten-free oat flour. This keeps your blondies safe for those with gluten allergies. Enjoy the same great taste without worry.
Storage Info
Best Storage Practices
To keep your vegan chocolate chip blondies fresh, store them in an airtight container. Line the container with parchment paper to prevent sticking. Place the blondies in a single layer. If you have many, add parchment between layers. Store them in a cool, dry place, away from direct sunlight. This helps maintain their soft texture and rich taste.
Freezing Instructions
You can freeze these blondies for later enjoyment. Cut them into squares first. Wrap each square tightly in plastic wrap. Then, place them in a freezer-safe bag or container. Remove as much air as you can to prevent freezer burn. To thaw, take them out and let them sit at room temperature for about 30 minutes. This keeps their taste and texture intact.
Shelf Life
When stored properly, these blondies last for about 5 days at room temperature. If you refrigerate them, they can stay fresh for up to a week. In the freezer, they can last for up to three months. Just remember to check for any signs of spoilage before you dig in. Enjoy your sweet treats with peace of mind!
FAQs
Can I make these blondies without almond butter?
Yes, you can! If you want to skip almond butter, try using other nut butters. Peanut butter works great and adds a nice flavor. Sunflower seed butter is a good choice too, making the blondies nut-free. Just keep the same amount in the recipe.
Are these blondies gluten-free?
Yes, these blondies can be gluten-free! Oat flour is a main ingredient, and it is naturally gluten-free. Just make sure to use certified gluten-free oats. This way, you can enjoy these treats safely if you have a gluten allergy.
How do I know when my blondies are done baking?
To check for doneness, use a toothpick. Insert it into the center of the blondies. If it comes out clean or with a few moist crumbs, they are ready. The edges should look golden brown, which is a good sign too.
Can I replace the maple syrup with another sweetener?
You can. If you want to swap maple syrup, try agave syrup or brown rice syrup. Both will keep the blondies sweet and moist. If you use granulated sugar, add a bit of extra liquid to balance it out.
These blondies use simple ingredients like almond butter, maple syrup, and oat flour. I shared steps to make them from scratch. Remember to not overmix the batter for the best texture. Feel free to customize them with your favorite nuts or spices. Store them well to keep them fresh, or freeze them for later. Enjoy these delicious treats as a fun snack or dessert. Happy baking!