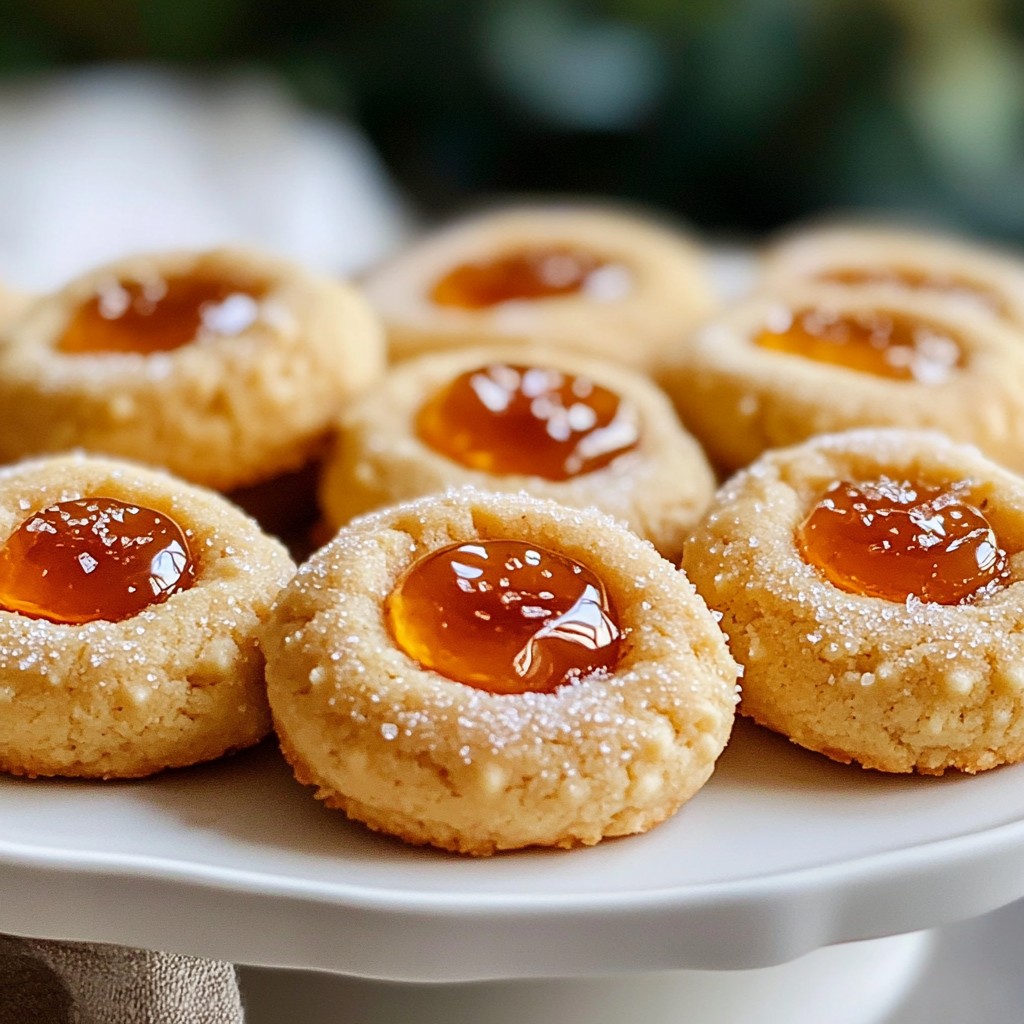
Looking for a fun and tasty treat? These Peanut Butter Jelly Thumbprint Cookies are easy to make and delicious! With a crispy outside and a gooey jelly center, they’re sure to please everyone. In this article, I’ll guide you through the simple steps, share tips for perfect results, and even suggest fun variations. Get ready to bake something special that brings back sweet childhood memories!
Why I Love This Recipe
- Easy to Make: This recipe requires minimal ingredients and can be whipped up in just 15 minutes, making it perfect for a quick baking session.
- Peanut Butter Perfection: The creamy peanut butter base gives these cookies a rich, nutty flavor that pairs wonderfully with the sweet jelly.
- Customizable Flavors: By choosing different jellies or jams, you can easily personalize these cookies to suit your taste or the season.
- Kid-Friendly Treat: These thumbprint cookies are not only fun to make but are also a hit with kids, making them a great baking project for families.
Ingredients
List of Ingredients
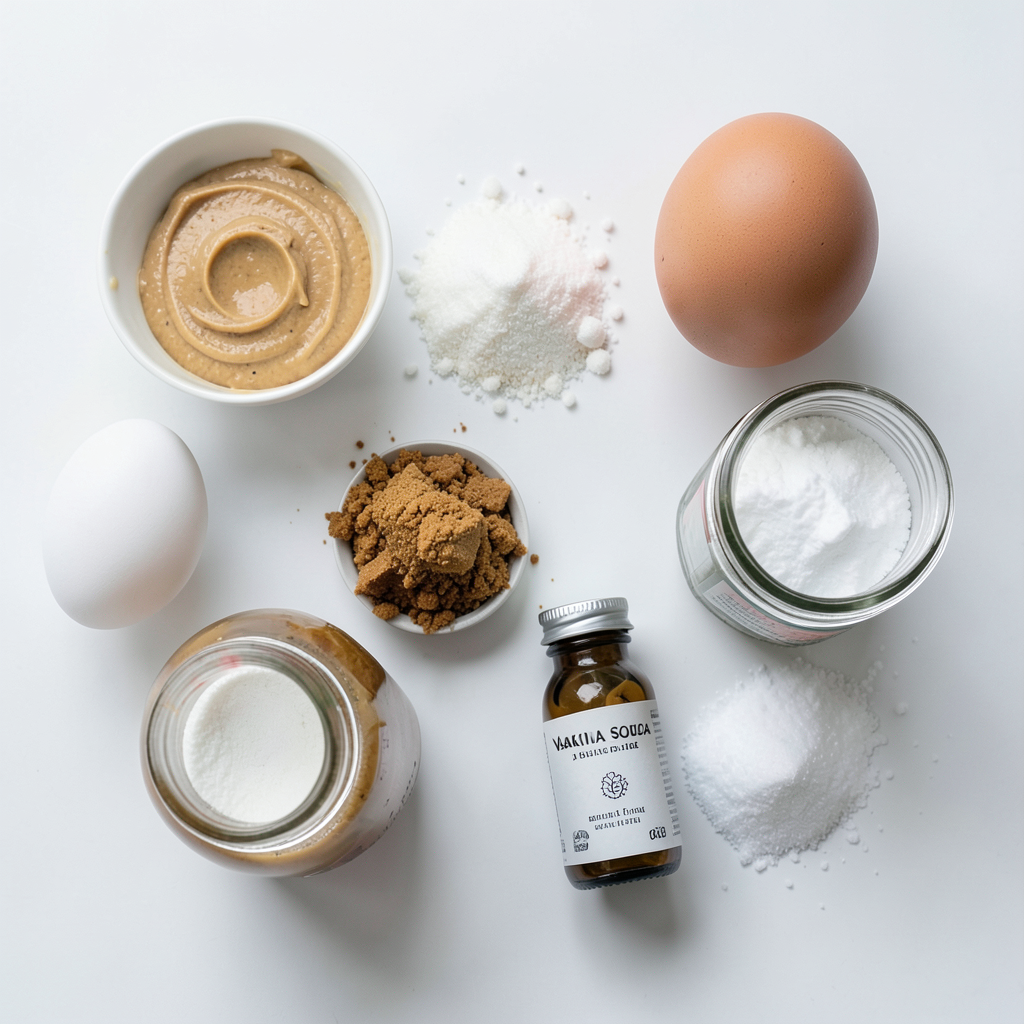
To make Peanut Butter Jelly Thumbprint Cookies, you will need the following ingredients:
- 1 cup creamy peanut butter
- 1/2 cup granulated sugar
- 1/2 cup packed brown sugar
- 1 large egg
- 1 teaspoon vanilla extract
- 1 teaspoon baking soda
- 1/4 teaspoon salt
- 1/2 cup jelly or jam (strawberry, raspberry, or grape)
- Extra granulated sugar for rolling (optional)
These simple ingredients create a soft cookie with a sweet jam center.
Alternative Sweeteners
You can swap the granulated sugar and brown sugar for alternative sweeteners. Here are some options:
- Honey: Use 1/3 cup instead of granulated sugar.
- Maple syrup: Substitute with 1/2 cup of maple syrup.
- Coconut sugar: Use the same amount as brown sugar.
These sweeteners add a unique flavor while keeping the cookies delicious.
Jelly or Jam Options
Choosing the right jelly or jam is key for your cookies. Here are some tasty options:
- Strawberry jelly: A classic choice with a fruity taste.
- Raspberry jam: Adds a tart flavor that pairs well with peanut butter.
- Grape jelly: A sweet favorite for those who love the classic combo.
Feel free to mix and match flavors to find your perfect cookie!
Step-by-Step Instructions
Preheat Oven and Prepare Baking Sheet
First, preheat your oven to 350°F (175°C). This step is key for even baking. While the oven heats, grab a baking sheet. Line it with parchment paper to stop cookies from sticking. This makes cleanup easy later.
Mixing the Cookie Base
In a large mixing bowl, add 1 cup of creamy peanut butter. Then, add 1/2 cup of granulated sugar and 1/2 cup of packed brown sugar. Use a hand mixer or whisk to blend until smooth. Make sure there are no lumps in the mix. This smooth base is essential for a great cookie.
Next, crack 1 large egg into the mix and pour in 1 teaspoon of vanilla extract. Beat this mix until it looks light and fluffy. This adds flavor and helps your cookies rise.
Now, sprinkle in 1 teaspoon of baking soda and 1/4 teaspoon of salt. Use a spatula to mix everything well. Ensure the dry ingredients are fully combined with the wet ones. This step is important for even flavor in every bite.
Shaping and Preparing the Dough
Now it's time to shape the cookies. Use a tablespoon or a cookie scoop to grab the dough. Roll each piece into a ball about 1 inch wide. If you want a sweet touch, roll the balls in extra granulated sugar. Place the dough balls on the lined baking sheet, spacing them about 2 inches apart. This space allows for spreading while baking.
Next, create a small indent in the center of each ball. You can use your thumb or a round measuring spoon for this. This is where the jelly will go, so make sure it’s deep enough.
Finally, spoon about 1 teaspoon of your favorite jelly into each indentation. Choose from flavors like strawberry, raspberry, or grape. Be careful not to overflow the jelly. Now you're ready to bake!
Tips & Tricks
Baking Time for Perfect Cookies
Bake your Peanut Butter Jelly Thumbprint Cookies for 10 to 12 minutes. Look for golden edges. If they are too soft, they may need a minute or two more. Keep an eye on them, as ovens vary. Let them cool on the baking sheet for five minutes before moving them. This helps them set and keeps them from breaking.
Making Ahead and Freezing
You can make these cookies ahead of time. Shape the dough into balls and freeze them. Place the balls on a baking sheet and freeze for one hour. After, store them in a freezer bag. They can last up to three months. When ready to bake, just add a couple of extra minutes to the baking time.
Ensuring the Right Consistency
For great cookies, your dough should be smooth and easy to roll. If it feels too sticky, add a pinch of flour. If it’s too dry, mix in a bit more peanut butter. The right balance makes a big difference. Always remember to check your dough before shaping!
Pro Tips
- Chill the Dough: For firmer cookies, refrigerate the dough for 30 minutes before shaping. This helps them hold their shape better while baking.
- Jelly Alternatives: Experiment with different flavors of jelly or jam to find your favorite combo. Try using homemade preserves for an artisanal touch!
- Even Baking: Rotate the baking sheet halfway through the baking time to ensure even cooking, especially if your oven has hot spots.
- Storage Tips: Store cookies in an airtight container at room temperature for up to one week, or freeze them for up to three months for later enjoyment.
Variations
Different Nut Butters
You can switch up the nut butter in this recipe. Try almond butter or cashew butter. Each nut butter brings its unique taste. Almond butter adds a light, nutty flavor. Cashew butter gives a creamy, rich taste. Remember to choose a smooth version for the best texture.
Flavorful Additions
Want to enhance your cookies? Add some mix-ins! Mini chocolate chips or chopped nuts can add a nice crunch. You can also add a pinch of cinnamon for warmth. Another fun idea is to use flavored jelly, like peach or orange. These small changes can make your cookies even more special!
Dietary Substitutes (Gluten-Free, Vegan)
You can easily make these cookies gluten-free. Just use gluten-free flour instead of regular flour. For a vegan option, swap the egg for a flax egg. Mix 1 tablespoon of ground flaxseed with 2.5 tablespoons of water. Let it sit for a few minutes until it thickens. These simple swaps let everyone enjoy these tasty treats!
Storage Info
Best Storage Practices
To keep your peanut butter jelly thumbprint cookies fresh, store them in an airtight container. This will help keep the cookies soft and tasty. You can layer parchment paper between the cookies if you stack them. This avoids sticking and keeps them neat.
How Long Do They Last?
If stored properly, these cookies can last for about one week at room temperature. You can also keep them in the fridge for up to two weeks. If you want them to last longer, consider freezing them. They can stay fresh in the freezer for about three months.
Reheating Instructions
To enjoy your cookies warm, simply pop them in the microwave. Heat them for about 10 to 15 seconds. This will make them soft and gooey again. If you prefer a crispier cookie, use the oven. Preheat it to 350°F (175°C), then bake for about 5 minutes. This will bring back that fresh-baked taste.
FAQs
Can I use crunchy peanut butter?
Yes, you can use crunchy peanut butter. It will add a nice texture. The cookies will still taste great. Just remember, the crunch will change the feel of the cookie a bit. If you love the crunch, go for it!
What if I don’t have jelly?
If you don’t have jelly, don't worry! You can use jam or even chocolate spread. Try any fruit spread you like. You can also use Nutella for a fun twist. The flavor will change, but the cookies will still be yummy.
Can these cookies be made in advance?
Yes, you can make these cookies in advance. You can prepare the dough and chill it in the fridge. This helps the flavors blend. You can also bake them ahead of time. Just store them in a container. They will stay fresh for several days.
You now have a solid guide to making delicious cookies. We went through the ingredients, the baking steps, tips for success, and fun variations. You learned about storage and answered common questions.
These cookies bring joy and flavor to any day. Experiment with different options and have fun with your baking. Remember, the best cookies are made with love and creativity. Enjoy your baking journey!