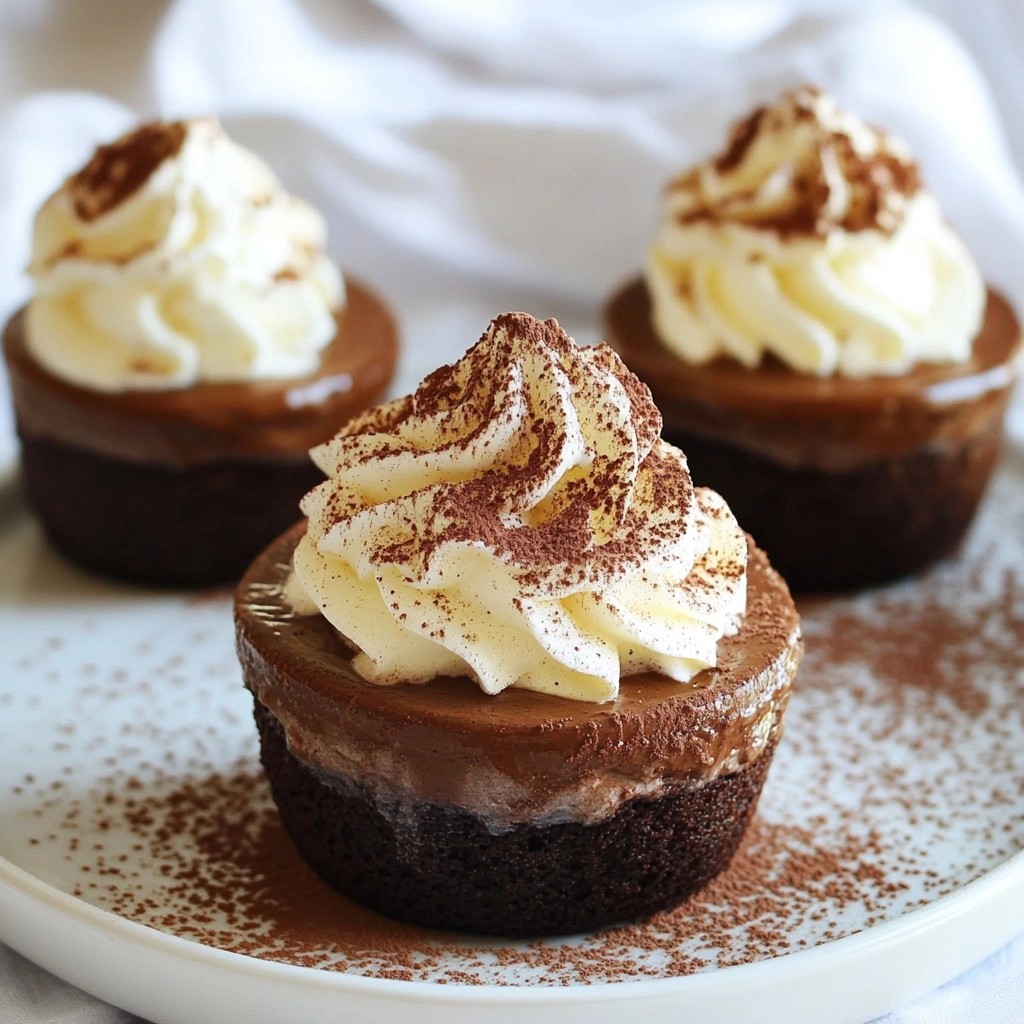
Indulging in rich, creamy chocolate is a thrill for any dessert lover. Now, imagine enjoying that experience in an easy-to-make, air-fried mousse cup! In this recipe, I’ll guide you through crafting decadent air fryer Chocolate Mocha Mousse Cups that are not only delicious but also fun to create. Let’s dive into the ingredients and steps that will bring this delightful treat to your table. Get ready to impress your friends and family!
Why I Love This Recipe
- Indulgent Flavor: This chocolate mocha mousse is rich, creamy, and provides a delightful coffee kick, making it the perfect dessert for chocolate lovers.
- Easy to Make: With simple ingredients and straightforward steps, this recipe is accessible for both novice and experienced cooks alike.
- Air Fryer Magic: The air fryer adds a unique twist, creating a delicate crust on top while keeping the mousse light and airy.
- Customizable Toppings: The optional toppings allow for creativity and personalization, making each serving feel special and tailored to your taste.
Ingredients
Main Ingredients for Chocolate Mocha Mousse Cups
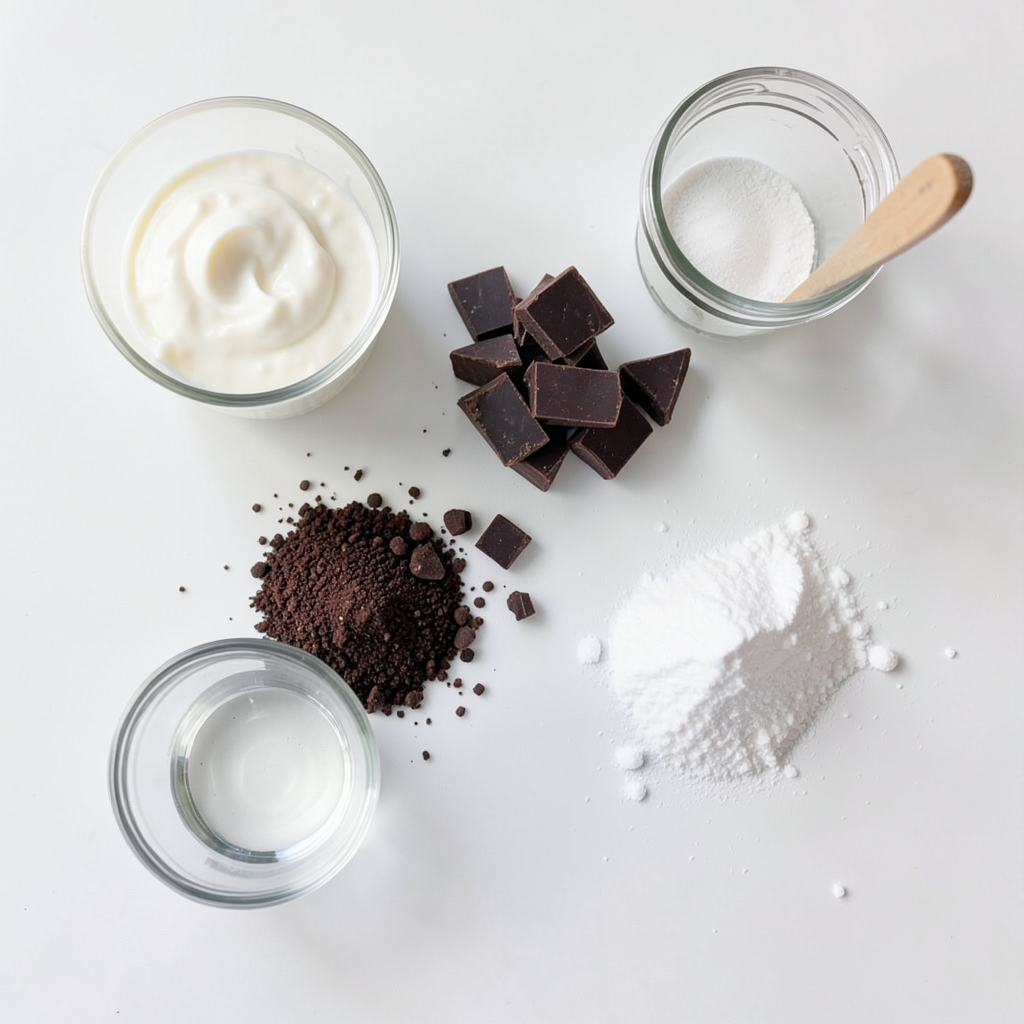
To make these delicious mousse cups, gather the following items:
- 1 cup heavy cream
- 4 ounces dark chocolate (70% cocoa), finely chopped
- 2 tablespoons instant coffee granules
- 3 tablespoons hot water
- 1/4 cup powdered sugar
- 1 teaspoon vanilla extract
- Pinch of salt
These ingredients combine to create a rich and creamy dessert. The dark chocolate gives a deep flavor. The coffee adds a nice kick.
Optional Toppings for Enhanced Presentation
You can add these toppings to make your mousse cups even better:
- Whipped cream
- Cocoa powder
- Chocolate shavings
- Espresso beans
These toppings not only enhance the taste but also make your dessert look fancy. A little whipped cream can add a soft touch. A sprinkle of cocoa can make it more chocolatey.
Ingredient Substitutions
If you need swaps, here are some easy ideas:
- Use milk or white chocolate instead of dark chocolate for a sweeter taste.
- For a non-dairy option, try coconut cream instead of heavy cream.
- Use sugar or a sugar substitute if you do not have powdered sugar.
These substitutions can help you make this recipe work with what you have at home. Cooking should be fun, so get creative!
Step-by-Step Instructions
Melting the Chocolate
First, gather your dark chocolate. Use a microwave-safe bowl and add the chopped chocolate. Microwave it in 20-second bursts. Stir after each burst. Keep going until the chocolate is smooth. Let it cool a bit while you work on other steps.
Dissolving the Instant Coffee
Next, take your instant coffee granules. Mix them with hot water in a small bowl. Stir well until the coffee dissolves. This should only take a minute. Let it cool slightly before adding it to the mousse.
Whipping the Cream
Now, grab a large mixing bowl. Pour in your heavy cream. Use an electric mixer on medium-high speed. Beat the cream until soft peaks form. Then, slowly add in the powdered sugar, vanilla extract, and a pinch of salt. Keep mixing until stiff peaks form. The cream should be fluffy and airy.
Combining the Mixtures
It's time to combine. Carefully fold the melted chocolate and coffee mixture into the whipped cream. Use a spatula for this. Gently fold to keep the cream light. Mix until no streaks remain and everything looks blended.
Preparing the Mousse Cups
Now, get your small cups or ramekins ready. Use a spoon or piping bag to fill them with the mousse. Fill each cup about three-quarters full. Use a spatula to smooth the tops. This makes them look nice and even.
Chilling and Air Frying the Mousse
Cover the mousse cups with plastic wrap. Place them in the fridge for at least 2 hours. This helps the mousse set. After chilling, preheat your air fryer to 320°F (160°C). Put the mousse cups in the air fryer basket. Make sure they don't stack. Air fry for 5 minutes. This creates a delicate crust on top. Afterward, let them cool, then chill for another 30 minutes before serving.
Tips & Tricks
Achieving the Perfect Whipped Cream
To make the best whipped cream, start with cold heavy cream. This helps it whip better. Use an electric mixer to beat the cream on medium-high speed. You want soft peaks first. Then, add the powdered sugar, vanilla, and a pinch of salt. Keep mixing until you see stiff peaks. This is key for a light and airy mousse.
Ensuring a Smooth Chocolate Mixture
Melt the dark chocolate slowly in the microwave. Do this in 20-second bursts. Stir in between each interval to prevent burning. Once melted, let it cool slightly before mixing with the whipped cream. If the chocolate is too hot, it can deflate your whipped cream. Mixing should be gentle. Use a spatula to fold the chocolate and coffee into the cream.
Serving Suggestions for a Beautiful Presentation
For a fancy look, use small cups or ramekins. Fill them about three-quarters full with mousse. Level the tops with a spatula for a smooth finish. Chill the cups well before serving. To decorate, add a dollop of whipped cream on top. A dusting of cocoa powder or chocolate shavings adds flair. For an extra touch, place an espresso bean on each mousse cup. Serve them on a pretty platter for a stunning display.
Pro Tips
- Chocolate Quality: Use high-quality dark chocolate for the best flavor and texture. The cocoa percentage can be adjusted based on your preference for sweetness and bitterness.
- Coffee Enhancement: For a stronger coffee flavor, increase the amount of instant coffee granules. Alternatively, you can use brewed espresso for a richer taste.
- Whipping Technique: Be careful not to over-whip the cream. Stop mixing as soon as stiff peaks form to maintain the airy texture of the mousse.
- Chilling Time: Allow the mousse to chill longer if possible, as this will improve the flavor and enhance the texture, making it even more decadent.
Variations
Different Chocolate Types (Milk, White, or Dark)
You can use different types of chocolate for your mousse. Dark chocolate gives a rich taste, while milk chocolate adds sweetness. White chocolate offers a creamy, mild flavor. Each type will change the mousse's taste. Feel free to experiment and find your favorite.
Vegan or Dairy-Free Alternatives
If you want a vegan or dairy-free mousse, use coconut cream instead of heavy cream. It whips up well and adds a light coconut flavor. For the chocolate, choose a dairy-free or dark chocolate that contains no milk. You can also use maple syrup or agave instead of powdered sugar for sweetness.
Flavor Enhancements (Mint, Orange, or Hazelnut)
To make your mousse more unique, add flavors like mint, orange, or hazelnut. For mint, add a few drops of peppermint extract. For orange, mix in some orange zest. For hazelnut, stir in hazelnut extract or finely chopped hazelnuts. These flavors will make each bite exciting and fresh.
Storage Info
How to Properly Store Mousse Cups
To store your mousse cups, first cover them tightly. Use plastic wrap to seal each cup. This keeps the mousse fresh and prevents drying. Place them in the fridge. They stay good for about three days. After that, the texture may change.
Freezing Mousse for Longer Shelf Life
You can freeze mousse cups for up to a month. To freeze, make sure they are well-covered. Use a freezer-safe container or wrap them well in plastic wrap. When you want to eat them, move them to the fridge. Let them thaw overnight. This helps keep the taste and texture.
Best Practices for Reheating (if necessary)
You don't need to reheat mousse. It tastes best when it’s cold. If you prefer it a bit warm, place it in the fridge for a bit. Let it sit at room temperature for 10 to 15 minutes before serving. Don't use the microwave, as it can change the mousse's texture.
FAQs
How do I know when the mousse is set?
You can tell the mousse is set when it feels firm to the touch. It should hold its shape when you scoop it out. After chilling for at least two hours, check for firmness in the center. If it’s still soft, give it more time in the fridge.
Can I make this recipe ahead of time?
Yes, you can make this mousse ahead of time. It keeps well in the fridge for up to three days. Just cover the cups tightly with plastic wrap. This is great for parties or special meals, allowing you to save time on the day of serving.
What can I substitute for heavy cream?
You can use coconut cream as a dairy-free option. It gives a similar texture and richness. Alternatively, you can try full-fat Greek yogurt, but it will change the flavor and texture slightly. Use whatever fits your needs best.
Can I use ground coffee instead of instant coffee?
I do not recommend using ground coffee. It does not dissolve well and can leave a gritty texture. Instant coffee dissolves easily in hot water, giving a smooth flavor. Stick with instant for the best results.
How to avoid air bubbles in the mousse?
To avoid air bubbles, fold gently when mixing the chocolate and coffee into the whipped cream. Use a spatula to combine. Avoid vigorous stirring, which can deflate the cream. This keeps your mousse light and fluffy while preventing bubbles.
Chocolate mocha mousse cups are simple yet delightful. You learned about the key ingredients, from chocolate to optional toppings. I shared step-by-step instructions for making these treats. Tips help you whip cream perfectly and serve beautifully. Variations let you customize flavors and accommodate diets. Proper storage ensures freshness, while FAQs address common questions.
Enjoy making this dessert! You now have the tools to impress anyone.