If you crave a dessert packed with flavor and ease, Chocolate Peanut Butter Icebox Pie is for you! This no-bake treat combines creamy peanut butter and rich chocolate for an irresistible bite. You’ll delight in the simple steps to create this delicious pie. It’s perfect for any occasion and sure to impress your guests. Let’s dive into the sweet world of this amazing dessert!
Error: Error code: 429 - {'error': {'message': 'You exceeded your current quota, please check your plan and billing details. For more information on this error, read the docs: https://platform.openai.com/docs/guides/error-codes/api-errors.', 'type': 'insufficient_quota', 'param': None, 'code': 'insufficient_quota'}}
Ingredients
Required Ingredients for Chocolate Peanut Butter Icebox Pie
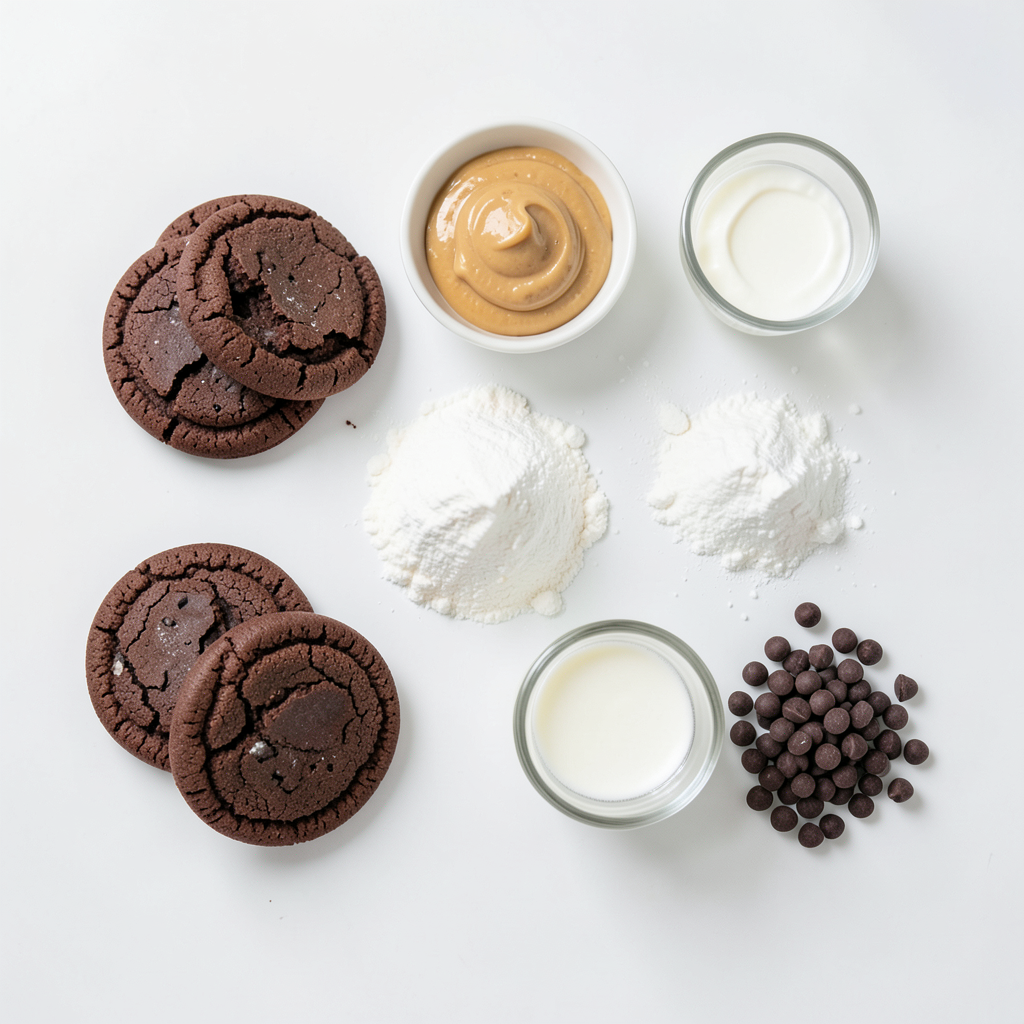
To make this tasty pie, you need the following items:
- 1 ½ cups chocolate sandwich cookies, crushed
- ½ cup unsalted butter, melted
- 1 cup creamy peanut butter
- 1 cup powdered sugar
- 1 cup heavy cream
- 1 teaspoon vanilla extract
- ½ cup semi-sweet chocolate chips
These ingredients create a rich and creamy dessert. The chocolate cookies give a great taste and texture.
Optional Ingredients for Garnishing
For a fun touch, you can add:
- Whipped cream for garnish
- Crushed cookies for extra crunch
These toppings make the pie look even more appealing. They also add a nice flavor twist to each slice.
Substitute Suggestions
If you want to swap some ingredients, try these ideas:
- Use gluten-free cookies for a gluten-free version.
- Choose crunchy peanut butter for a bit of texture.
- Replace heavy cream with whipped topping for a lighter option.
These substitutes keep the pie delicious while catering to different diets or preferences.
Step-by-Step Instructions
Preparing the Crust
To make the crust, you need chocolate sandwich cookies. I use Oreos, but any brand works. First, crush 1 ½ cups of cookies into fine crumbs. You can use a food processor or a zip-top bag. If you use a bag, crush the cookies with a rolling pin. The crumbs should feel like wet sand.
Next, mix the crumbs with ½ cup of melted unsalted butter in a medium bowl. Stir until all the crumbs are coated. Then, press this mixture into a 9-inch pie dish. Push it evenly across the bottom and slightly up the sides. Use a measuring cup or your fingers to press down firmly. Chill the crust in the fridge for at least 30 minutes. This helps it firm up.
Making the Peanut Butter Filling
While the crust chills, it’s time to prepare the filling. In a large mixing bowl, combine 1 cup of creamy peanut butter with 1 cup of powdered sugar. Use an electric mixer on medium speed. Beat until the mixture is smooth and creamy. Make sure there are no lumps.
In another bowl, pour 1 cup of heavy cream and add 1 teaspoon of vanilla extract. Whip the cream using a handheld mixer on medium-high speed. Keep mixing until you see stiff peaks, which takes about 2-3 minutes.
Now, gently fold the whipped cream into the peanut butter mixture. Start with a small amount to lighten the mixture. Then, fold in the rest carefully. You want to keep it light and fluffy.
Assembling the Pie
Once the crust is ready, pour the creamy peanut butter filling into it. Use a spatula to spread it out evenly.
For the chocolate drizzle, melt ½ cup of semi-sweet chocolate chips in a microwave-safe bowl. Heat them in the microwave in 30-second bursts, stirring in between. Once smooth, drizzle the melted chocolate over the peanut butter filling in a pretty pattern.
Cover the pie with plastic wrap or foil. Chill it in the fridge for at least 4 hours, or overnight. This allows the pie to set.
When you're ready to serve, you can add whipped cream on top for a special touch.
Tips & Tricks
Best Practices for Crushing Cookies
To crush chocolate sandwich cookies easily, use a food processor. Just pulse until you get fine crumbs. If you don’t have one, place the cookies in a zip-top bag. Use a rolling pin to roll over the bag. Make sure to crush them until they look like wet sand. This gives you the best crust texture.
Perfect Whipping Techniques for Cream
When whipping cream, start with a cold bowl and cold heavy cream. This helps it whip better. Use a handheld mixer or a stand mixer. Beat on medium-high speed until you see stiff peaks. This should take about 2-3 minutes. Be careful not to over-whip, or you might end up with butter!
Decorating and Serving Suggestions
To serve your pie, slice it with a warm knife. This helps make clean cuts. For an elegant touch, use chilled plates. You can also add a sprinkle of crushed cookies on top of whipped cream. This adds visual flair and a crunch that everyone loves. Enjoy your pie as a fun dessert for any occasion!
Error: Error code: 429 - {'error': {'message': 'You exceeded your current quota, please check your plan and billing details. For more information on this error, read the docs: https://platform.openai.com/docs/guides/error-codes/api-errors.', 'type': 'insufficient_quota', 'param': None, 'code': 'insufficient_quota'}}
Variations
Healthier Alternatives
You can lighten this pie by using Greek yogurt. Swap half of the peanut butter for Greek yogurt. This change keeps the flavor but cuts calories. It also adds protein, making your dessert a bit healthier. Another option is to use low-fat cream or whipped topping instead of heavy cream. This will change the texture slightly but still keep it creamy.
Flavor Variations
Want to mix things up? Try adding sliced bananas into the peanut butter filling. Bananas add a sweet, fruity taste that pairs well with chocolate. You can also swirl in some chocolate fudge for an extra layer of flavor. This creates a rich chocolate experience that will delight your taste buds. Don't forget to top your pie with peanut butter cups for a fun crunch!
Different Crust Options
The crust can change your pie's taste and texture. Use graham crackers for a classic flavor. Crush them the same way you crush chocolate cookies. If you need a gluten-free option, opt for gluten-free cookies instead. These will provide a similar texture without gluten. You can even try a nut crust made from almonds or pecans, which will add a lovely nutty flavor.
Storage Info
How to Store Leftovers
To keep your Chocolate Peanut Butter Icebox Pie fresh, cover it well. Use plastic wrap or foil to wrap the pie tightly. You can also place it in an airtight container. Store it in the fridge. This way, it stays cold and tasty for a longer time.
Freezing Instructions
You can freeze this pie for later. First, let it set in the fridge. Once it's firm, wrap it well in plastic wrap. Then, place it in a freezer-safe container. This helps prevent freezer burn. When you're ready to eat, thaw it in the fridge for several hours or overnight.
Shelf Life Guidelines
In the fridge, this pie lasts about 4 to 5 days. If you freeze it, it can last up to 2 months. Just remember, the longer it sits, the more the texture may change. Always check for any signs of spoilage before eating. Enjoy your pie while it's fresh!
FAQs
Can I use crunchy peanut butter instead of creamy?
Yes, you can use crunchy peanut butter. It adds texture and a fun crunch. The flavor stays rich and delicious. Just mix it with powdered sugar as usual. The pie will still taste great!
How long can the pie sit out at room temperature?
The pie can sit out for about two hours. After that, it needs to go back in the fridge. This keeps it safe and fresh. If it’s hot out, try to keep it cold.
What can I use as a topping besides chocolate chips?
There are many tasty options! You can use crushed nuts for a nice crunch. Fresh berries also work well for a fruity kick. Whipped cream adds a light touch. Try drizzling caramel sauce for extra sweetness.
This blog post covered everything you need for a Chocolate Peanut Butter Icebox Pie. You learned about the key ingredients and some fun garnishes. I explained step-by-step how to make the pie and shared tips to make it perfect. You also saw ways to change up the recipe and how to store leftovers.
Try this pie for your next gathering. You can make it your own with different flavors and toppings. Enjoy the sweet and creamy treat!