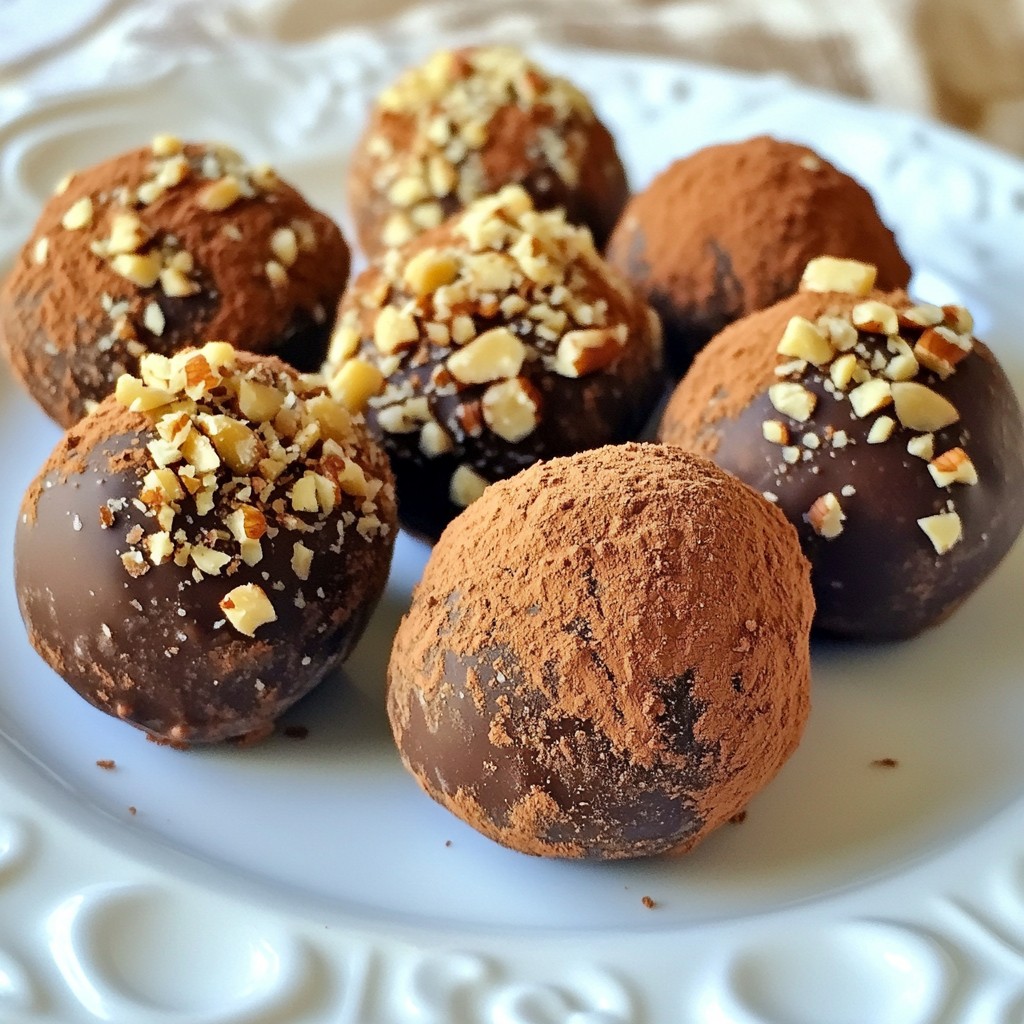
Indulging in Chocolate Hazelnut Truffles is pure bliss! You’ll love this treat that’s both easy to make and super delicious. With simple ingredients like dark chocolate and crunchy hazelnuts, you can create a sweet delight everyone will enjoy. I’ll guide you through each step, showing you how to mix, chill, and shape these bites of heaven. Ready to impress your friends and family? Let’s get started!
Why I Love This Recipe
- Indulgent Flavor: These truffles combine rich dark chocolate with the nutty flavor of hazelnuts, creating a decadent treat that satisfies chocolate cravings.
- Easy to Make: With simple ingredients and straightforward steps, this recipe is perfect for both beginner and experienced cooks.
- Customizable Coating: While cocoa powder gives a classic touch, feel free to experiment with toppings like crushed nuts or coconut for a personal twist.
- Perfect for Gifting: These elegant truffles make a wonderful homemade gift, beautifully packaged in a box or arranged on a plate for any occasion.
Ingredients
Main Ingredients List
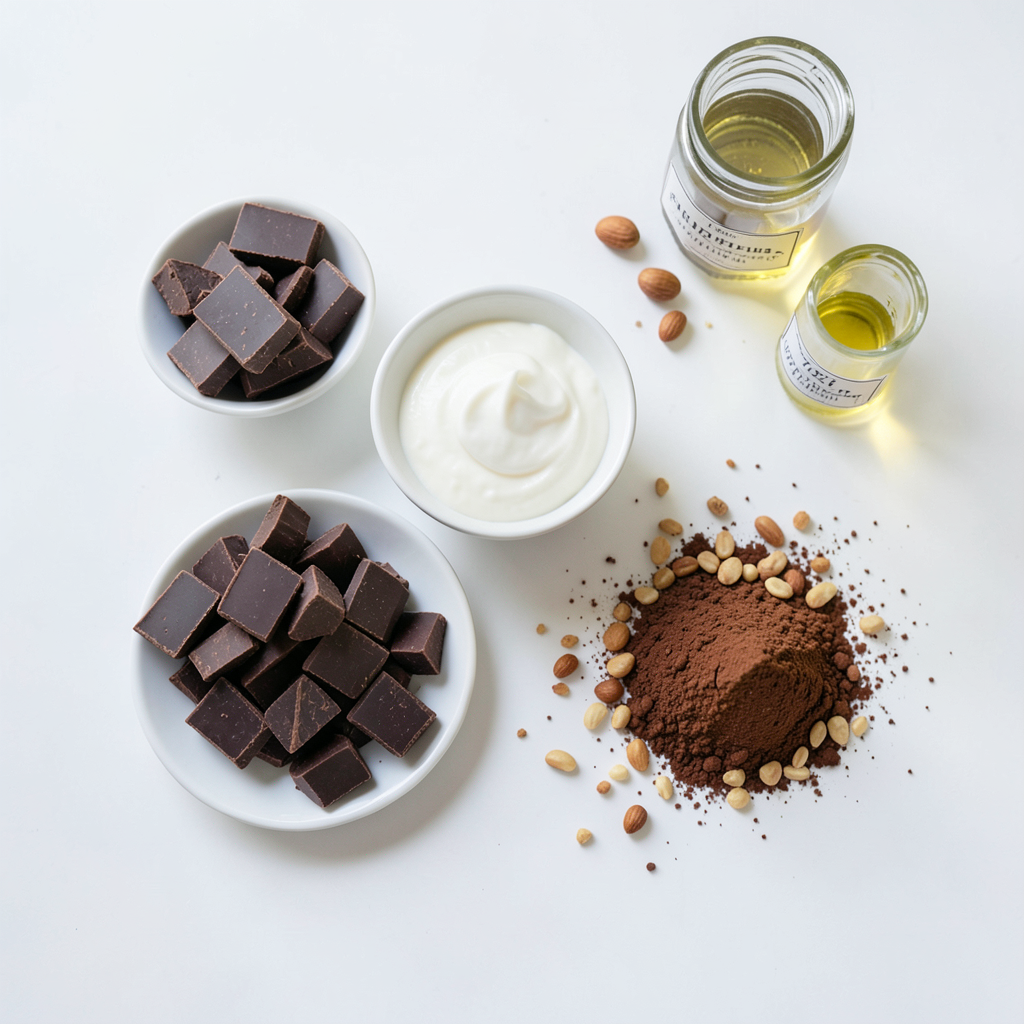
- 200g dark chocolate (70% cocoa), finely chopped
- 100ml heavy cream
- 50g hazelnuts, finely ground
- 20g unsweetened cocoa powder (for coating)
- 2 tablespoons coconut oil
- 1 teaspoon pure vanilla extract
- Pinch of sea salt
Measurement Conversions
- To convert grams to ounces: divide by 28.35. For example, 200g is about 7.05 ounces.
- To convert milliliters to cups: divide by 236.6. Thus, 100ml is about 0.42 cups.
Ingredient Substitutions
- For dairy-free options, use coconut cream instead of heavy cream.
- If you need nut-free treats, replace hazelnuts with sunflower seeds. Ground seeds work well too.
Step-by-Step Instructions
Heating the Cream
Gently heat the heavy cream in a small saucepan. Stir it occasionally. You want it to simmer, not boil. When it bubbles slightly around the edges, take it off the heat. Gentle heating helps keep the cream smooth. This step is key for a creamy truffle base.
Melting the Chocolate
Add the finely chopped dark chocolate to the hot cream. Let it sit for about two minutes. This allows the heat to melt the chocolate slowly. After two minutes, stir gently with a spatula or whisk. Aim for a smooth and glossy texture. This is vital for your truffles.
Mixing Ingredients
Now, add the coconut oil, vanilla extract, finely ground hazelnuts, and a pinch of sea salt. Mix thoroughly until everything is well combined. The mixture should feel silky. This step adds rich flavor and depth to your truffles.
Chilling Process
Transfer the chocolate mixture to a bowl. Let it cool to room temperature first. Once cooled, cover it tightly with plastic wrap. Place it in the refrigerator for about two hours. Chilling is essential for a firm texture. It helps the truffle mixture hold its shape when scooping.
Shaping the Truffles
After chilling, use a small cookie scoop or your hands. Portion out the chilled chocolate mixture into bite-sized pieces. Roll each piece gently between your palms. This forms smooth balls. Smooth, even shapes make your truffles look great.
Coating the Truffles
Pour the unsweetened cocoa powder into a shallow dish. Roll each truffle in the cocoa powder. Make sure they are fully coated. This adds a delightful chocolate dusting. For best results, do this right before you serve them.
Tips & Tricks
Perfecting Texture
To get a smooth finish, use good chocolate. I suggest dark chocolate with at least 70% cocoa. Chop it finely. This helps it melt evenly. When you heat the cream, don’t boil it. Heat it until it simmers. This gentle heat keeps the chocolate glossy. After mixing, let the truffle mixture cool for a bit. Then, chill it in the fridge. This makes it easy to scoop and roll.
Flavor Enhancements
You can boost flavor with spices or extracts. Try adding a pinch of cinnamon or a drop of almond extract. These little touches can change the taste. Vanilla extract is a must for depth. Consider using flavored oils, too. A hint of orange zest can add brightness. Just remember, less is more. You want the hazelnut and chocolate to shine.
Chilling & Serving Time
For the best taste, chill your truffles after rolling. This helps them firm up nicely. I recommend serving them after they sit in the fridge for about 30 minutes. You can also let them sit at room temperature for a few minutes before serving. This way, they soften slightly, making each bite melt in your mouth. Enjoy them fresh, but they also taste great after a few days in the fridge!
Pro Tips
- Use Quality Chocolate: Opt for high-quality dark chocolate (70% cocoa or higher) for a richer flavor and smoother texture in your truffles.
- Chill for Best Results: Ensure the chocolate mixture is fully chilled before rolling into balls; this makes the truffles easier to handle and shape.
- Experiment with Coatings: Try rolling your truffles in different coatings like crushed nuts, powdered sugar, or even shredded coconut for a unique twist.
- Storage Tips: Store your truffles in an airtight container in the refrigerator for up to two weeks to keep them fresh and delicious.
Variations
Different Coating Options
You can coat your truffles in many ways. Roll them in cocoa powder for a classic touch. For a crunchy twist, use chopped nuts. Shredded coconut adds a fun flavor and texture. Each option gives your truffles a unique look and taste.
Flavor Add-ins
Want to change things up? Add a dash of espresso for a coffee kick. A bit of orange zest brightens the flavor with citrus notes. If you like a salty-sweet combo, sprinkle in some sea salt. These add-ins take your truffles from good to great.
Nut-Free Alternatives
If you need a nut-free option, don’t worry! Use seeds like sunflower or pumpkin instead of hazelnuts. Carob can replace chocolate for a different taste. These swaps keep the delight without nuts, making it easy for everyone to enjoy.
Storage Info
Storing Homemade Truffles
To keep your chocolate hazelnut truffles fresh, store them in an airtight container. Place the container in the fridge. This helps maintain their rich flavor and smooth texture. Make sure the truffles are not touching each other. This prevents them from sticking together.
Shelf Life
When stored properly, these truffles can last up to two weeks in the fridge. If you want them to stay fresh longer, freezing is a great option. The taste may change slightly over time, but they will still be delicious.
Freezing Instructions
To freeze your truffles, first, let them cool completely. Then, place them on a baking tray in a single layer. Freeze them for about an hour. Once frozen, transfer the truffles to a freezer-safe bag. They can last up to three months in the freezer. When you're ready to enjoy them, simply thaw in the fridge for a few hours.
FAQs
What type of chocolate is best for truffles?
I recommend using dark chocolate with at least 70% cocoa. Dark chocolate gives truffles a rich, bold flavor. Milk chocolate can work too, but it is sweeter and less intense. If you want a stronger taste, stick with dark chocolate.
Can I make these truffles ahead of time?
Yes, you can make these truffles a day or two in advance. Just follow the recipe and chill them as directed. Store them in an airtight container in the fridge. This way, the flavors can meld together, making them even tastier!
Are chocolate hazelnut truffles gluten-free?
Yes, these truffles are gluten-free! The recipe uses simple ingredients like dark chocolate, cream, and hazelnuts, which do not contain gluten. Always check labels for any hidden gluten in packaged items like chocolate.
Where to buy quality hazelnuts?
You can find quality hazelnuts at local grocery stores, health food shops, or online. Look for brands that sell raw or roasted hazelnuts. Stores like Whole Foods or Trader Joe's often carry good options. Buying in bulk can also save money!
Can these truffles be made vegan?
Yes, you can make these truffles vegan! Use dairy-free dark chocolate and replace heavy cream with coconut cream. For coconut oil, stick with it, as it is already vegan. This way, you can enjoy delicious truffles without dairy.
To make chocolate hazelnut truffles, you need simple yet tasty ingredients. We covered how to measure, substitute, and combine each one. Gentle heating of cream and melting chocolate are key for smooth texture. Chilling helps shape and coat your truffles just right. Remember, you can mix flavors and coatings to create your version. Store them correctly for the best taste, and feel free to freeze them for later. With these tips, you can make delicious truffles to enjoy or share. Dive in and have fun creating!