Get ready for a treat that combines two classics: chocolate and cheesecake! In this blog post, I’ll share my delightful recipe for Chocolate Covered Strawberry Cheesecake. You’ll learn about the easy ingredients, the simple steps, and a few tips to impress your friends and family. Whether you crave a rich dessert or want to try a no-bake version, this recipe is for you. Let’s dive into this sweet delight!
Why I Love This Recipe
- Decadent Flavor: This cheesecake combines the rich taste of chocolate and creamy cheesecake with the freshness of strawberries, creating a delightful dessert experience.
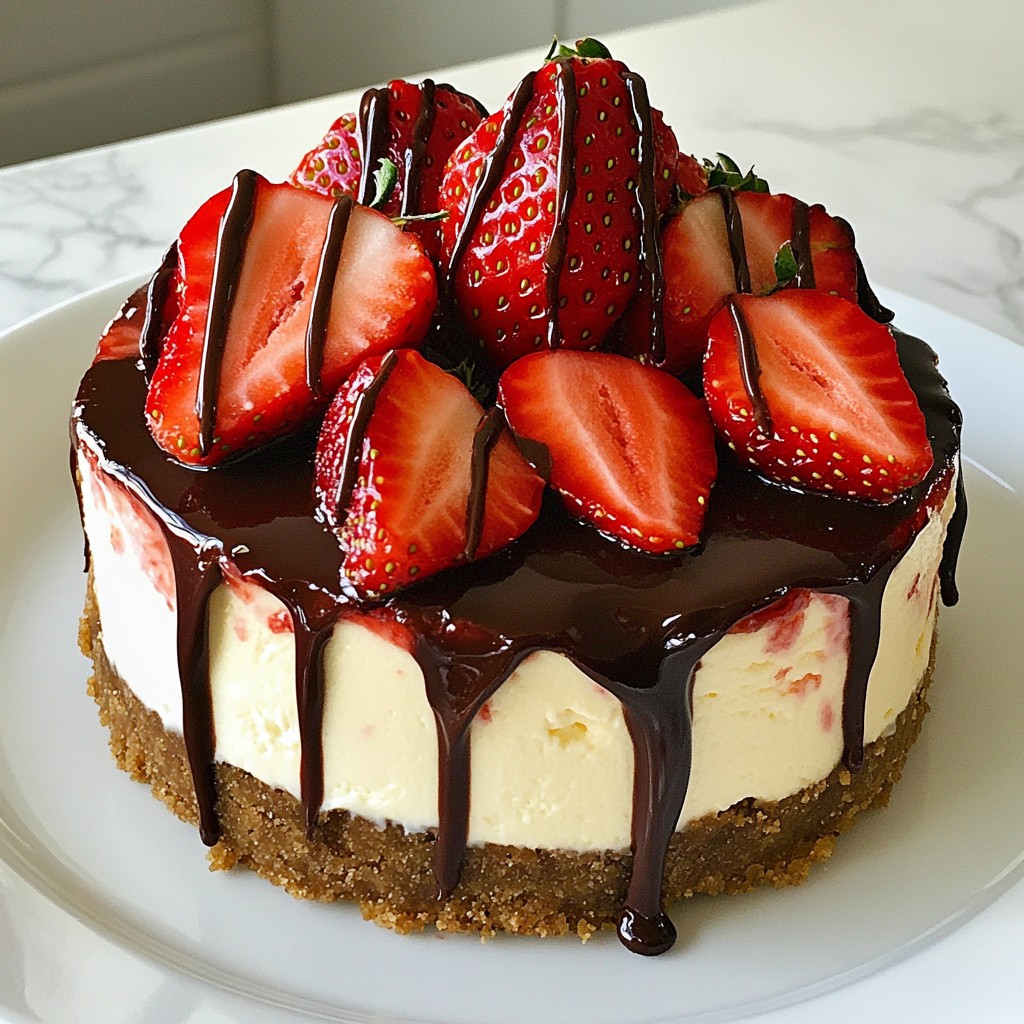
- Visual Appeal: The vibrant colors of the strawberries and the glossy chocolate drizzle make this cheesecake not only delicious but also a stunning centerpiece for any gathering.
- Perfect Texture: With a creamy filling and a crumbly graham cracker crust, this cheesecake offers a perfect balance of textures that will leave everyone wanting more.
- Easy to Make: Despite its impressive appearance, this cheesecake is simple to prepare, making it a great option for both novice and experienced bakers.
Ingredients
List of Essential Ingredients
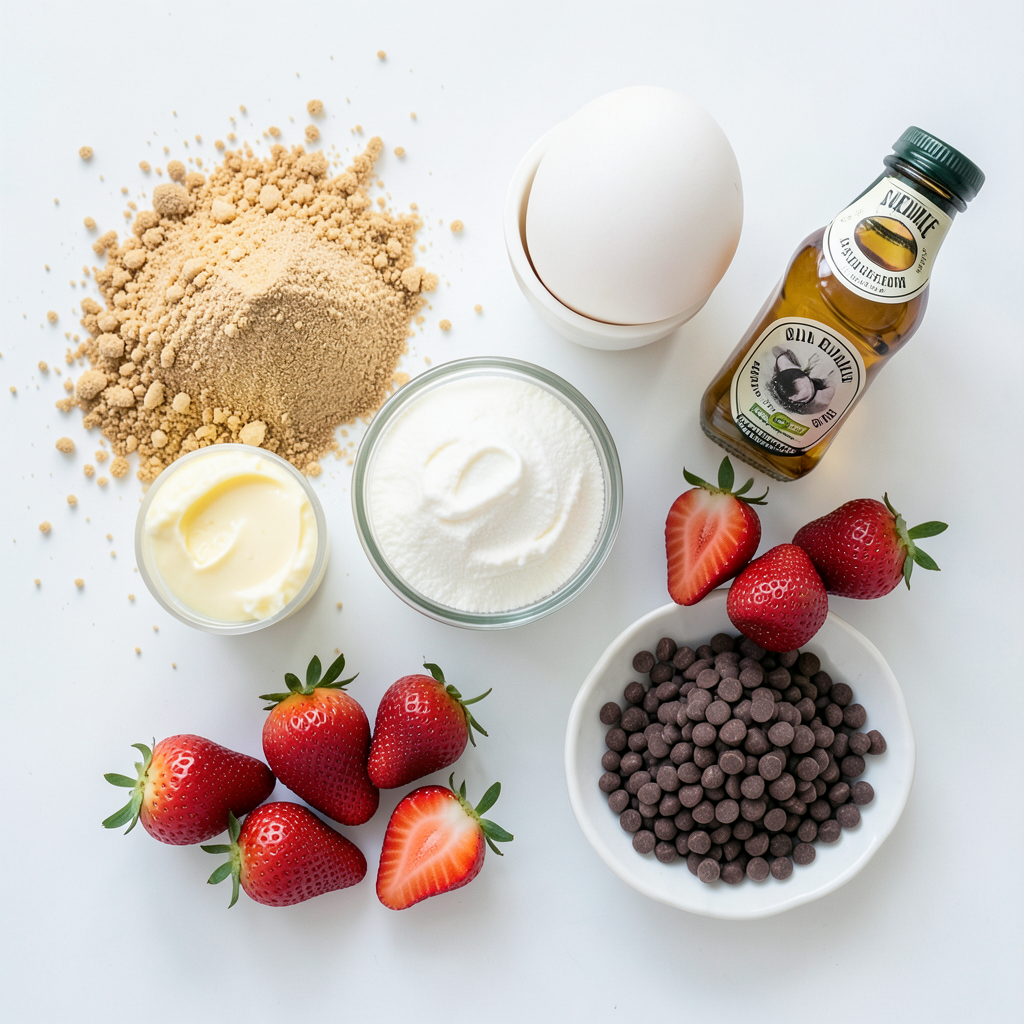
To make this delicious chocolate covered strawberry cheesecake, you will need:
- 1 ½ cups graham cracker crumbs
- ½ cup unsalted butter, melted
- 2 cups cream cheese, softened
- ¾ cup granulated sugar
- 1 teaspoon pure vanilla extract
- 3 large eggs, at room temperature
- 1 cup sour cream
- 1 ½ cups fresh strawberries, hulled and sliced
- 1 cup semi-sweet chocolate chips
- 1 tablespoon coconut oil (optional)
Tools and Equipment Needed
You will need a few key tools to prepare this cheesecake:
- 9-inch springform pan
- Mixing bowls
- Hand mixer or stand mixer
- Spatula
- Microwave-safe bowl
- Measuring cups and spoons
- Knife for cutting strawberries
- Oven
Possible Substitutions
If you need to make changes, here are some easy swaps:
- Use gluten-free graham crackers for a gluten-free crust.
- Swap cream cheese for a dairy-free cream cheese for a vegan option.
- Use honey or maple syrup instead of granulated sugar for a less processed sweetener.
- Try dark chocolate chips if you want a richer chocolate flavor.
These substitutions keep the recipe tasty while meeting different dietary needs.
Step-by-Step Instructions
Preparing the Crust
To begin, preheat your oven to 325°F (160°C). This step is key for baking. In a medium bowl, combine 1 ½ cups of graham cracker crumbs with ½ cup of melted unsalted butter. Stir this mix until it looks like wet sand. Now, press the mixture firmly into the bottom of a 9-inch springform pan. Make sure it is evenly packed for a solid base.
Making the Cheesecake Filling
In a large bowl, beat 2 cups of softened cream cheese with a hand mixer. Mix until it is smooth and creamy. Gradually add in ¾ cup of granulated sugar and 1 teaspoon of pure vanilla extract. Keep mixing until it’s all combined. Next, add 3 large eggs one by one. Mix on low speed after each egg until just combined. Be careful not to overmix. After that, gently fold in 1 cup of sour cream using a spatula. This adds creaminess to the filling.
Baking and Cooling Instructions
Now, pour the cheesecake batter over the prepared crust. Use a spatula to smooth the top. Evenly place 1 ½ cups of sliced fresh strawberries on top of the batter. This adds flavor and looks great too. Place your cheesecake in the oven and bake for 50 to 60 minutes. It’s ready when the center is set but jiggles a bit. Once baked, turn off the oven and crack the door. Let it cool in the oven for about one hour. This helps prevent cracks. After an hour, refrigerate the cheesecake for at least 4 hours. For the best texture, overnight is best.
Adding the Chocolate Topping
For the chocolate topping, melt 1 cup of semi-sweet chocolate chips with 1 tablespoon of coconut oil in a microwave-safe bowl. Microwave in 30-second intervals, stirring in between until it’s smooth. Once the cheesecake is chilled, gently drizzle the melted chocolate over the top. Let it flow down the sides for a beautiful look. You can garnish with extra fresh strawberries for a pop of color. Finally, run a knife around the edges of the pan to separate the cheesecake from the sides. Release the springform gently to avoid sticking.
Tips & Tricks
Achieving the Perfect Texture
To get the texture just right, make sure all your ingredients are at room temperature. This means the cream cheese, eggs, and sour cream. Room temp ingredients blend better. This prevents lumps and gives a creamy finish. Mix the cheesecake batter gently. Overmixing can make it too airy.
Preventing Cracks in the Cheesecake
Cracks can ruin the look of your cheesecake. To prevent this, avoid overmixing. Add eggs one at a time and mix on low. After baking, turn off the oven but leave the door open. This gradual cooling helps reduce cracks. Chill the cheesecake for at least four hours. Overnight is best for a smooth texture.
Presentation and Serving Suggestions
For a stunning presentation, slice the cheesecake and place it on beautiful plates. Drizzle extra chocolate sauce on top. Add a whole strawberry for a pop of color. You could even sprinkle some graham cracker crumbs around the plate. This adds a nice touch and makes your dessert look fancy. Enjoy each bite of this delicious treat!
Pro Tips
- Use Room Temperature Ingredients: Ensure that your cream cheese, eggs, and sour cream are at room temperature before mixing. This helps achieve a smooth batter and prevents lumps.
- Prevent Cracks: Gradually cooling the cheesecake in the oven after baking helps prevent the formation of cracks on the surface. Avoid opening the oven door abruptly.
- Perfect Chocolate Drizzle: If you're finding it difficult to get a nice drizzle with the melted chocolate, adding a tablespoon of coconut oil can help achieve a thinner consistency for better drizzling.
- Garnish Creatively: For an elegant touch, use additional fresh strawberries and a sprinkle of cocoa powder or chocolate shavings as a garnish before serving.
Variations
No-Bake Chocolate Covered Strawberry Cheesecake
To make a no-bake version, skip the oven. Use the same crust made from graham cracker crumbs and melted butter. After mixing the cream cheese and sugar, fold in whipped cream instead of baking. Pour this mixture over the crust and chill for at least 4 hours. Top with melted chocolate and fresh strawberries. This method gives you a creamy, rich dessert without the baking time.
Vegan Version of the Cheesecake
For a vegan cheesecake, swap out the cream cheese for soaked cashews or a vegan cream cheese alternative. Use coconut cream instead of sour cream. Replace eggs with flax eggs or aquafaba for binding. The crust can remain the same. Follow the same steps but ensure your chocolate is dairy-free. This version offers a plant-based treat that everyone can enjoy.
Flavor Additions and Enhancements
You can enhance the flavor of your cheesecake in many ways. Add a splash of lemon juice or zest for brightness. Mix in chocolate or strawberry extract for a deeper taste. Consider folding in mini chocolate chips or crushed nuts for texture. Each of these tweaks adds a unique twist to the classic recipe, making it your own.
Storage Info
How to Store Leftover Cheesecake
Store leftover cheesecake in your fridge. Use an airtight container to keep it fresh. Wrap the cheesecake tightly with plastic wrap if you don’t have a container. This method helps prevent it from drying out. Leftover cheesecake stays good for up to five days in the fridge.
Freezing Instructions
You can freeze cheesecake, too! First, let it cool completely. Then, wrap it tightly in plastic wrap. After that, wrap it in aluminum foil to avoid freezer burn. You can freeze it for up to three months. Make sure to label the date on the wrap.
Thawing and Reheating Tips
To thaw frozen cheesecake, move it to the fridge overnight. This method ensures it thaws slowly and stays creamy. If you're in a hurry, you can thaw it at room temperature for about 1-2 hours. Avoid using a microwave, as it can change the texture. Enjoy your cheesecake cool and tasty!
FAQs
Can I use frozen strawberries instead of fresh?
Yes, you can use frozen strawberries. Thaw them and drain excess water first. This keeps the cheesecake from getting soggy. Fresh strawberries add a brighter flavor, but frozen works well too.
How do I know when my cheesecake is done?
The cheesecake is done when the edges are set and the center jiggles slightly. It should not be wobbly. A toothpick inserted should come out clean. Remember, it will firm up as it cools.
What can I use instead of cream cheese?
You can try mascarpone or Greek yogurt as substitutes. They provide a similar creamy texture. For a dairy-free option, use cashew cream or tofu. Blend them well for a smooth filling.
Is it possible to make this cheesecake gluten-free?
Yes, you can make this cheesecake gluten-free. Use gluten-free graham cracker crumbs for the crust. Ensure all other ingredients are gluten-free as well. This way, everyone can enjoy a slice!
You learned how to make a tasty cheesecake from scratch. We covered key ingredients, tools, and easy steps. You now know how to mix the filling and bake it right. I shared tips to keep it smooth and crack-free. You can also explore fun flavors and easy storage tricks. Remember, try different variations to suit your taste. Making cheesecake is simple and fun, so enjoy the process and share it with friends. Happy baking!