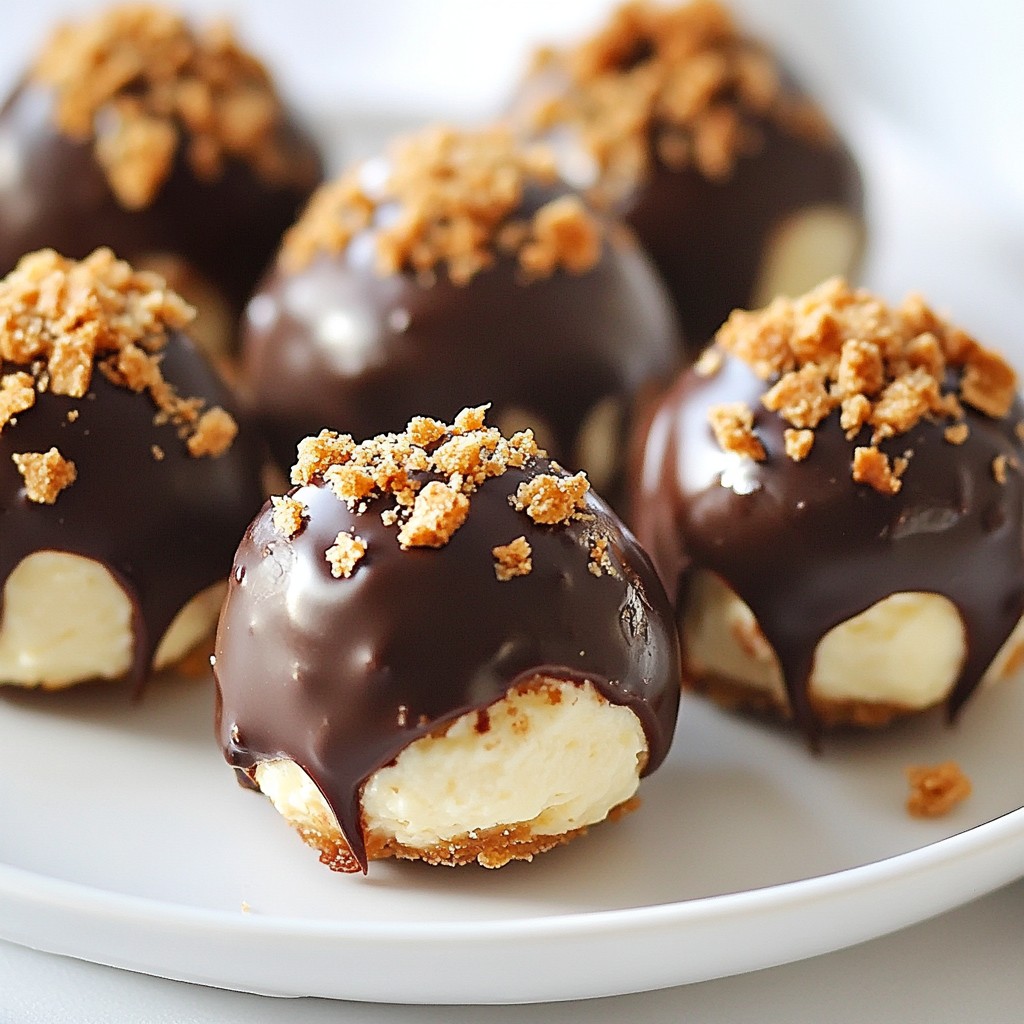
Looking for a quick and tasty treat? You’ve come to the right place! Chocolate Covered Cheesecake Bites are a simple dessert you can whip up in no time. With just a few key ingredients like cream cheese and semi-sweet chocolate, this easy recipe will impress everyone. Read on to discover how to create these delightful bites, perfect for any gathering, or just a sweet snack to enjoy at home!
Why I Love This Recipe
- Indulgent Flavor: The rich combination of chocolate and creamy cheesecake creates a decadent treat that satisfies any sweet tooth.
- Easy Preparation: With simple ingredients and straightforward steps, this recipe is perfect for both beginner and experienced bakers.
- Perfect for Any Occasion: These bites are great for parties, celebrations, or just a sweet snack at home!
- Customizable: Feel free to experiment with different toppings or chocolate types to make this recipe your own!
Ingredients
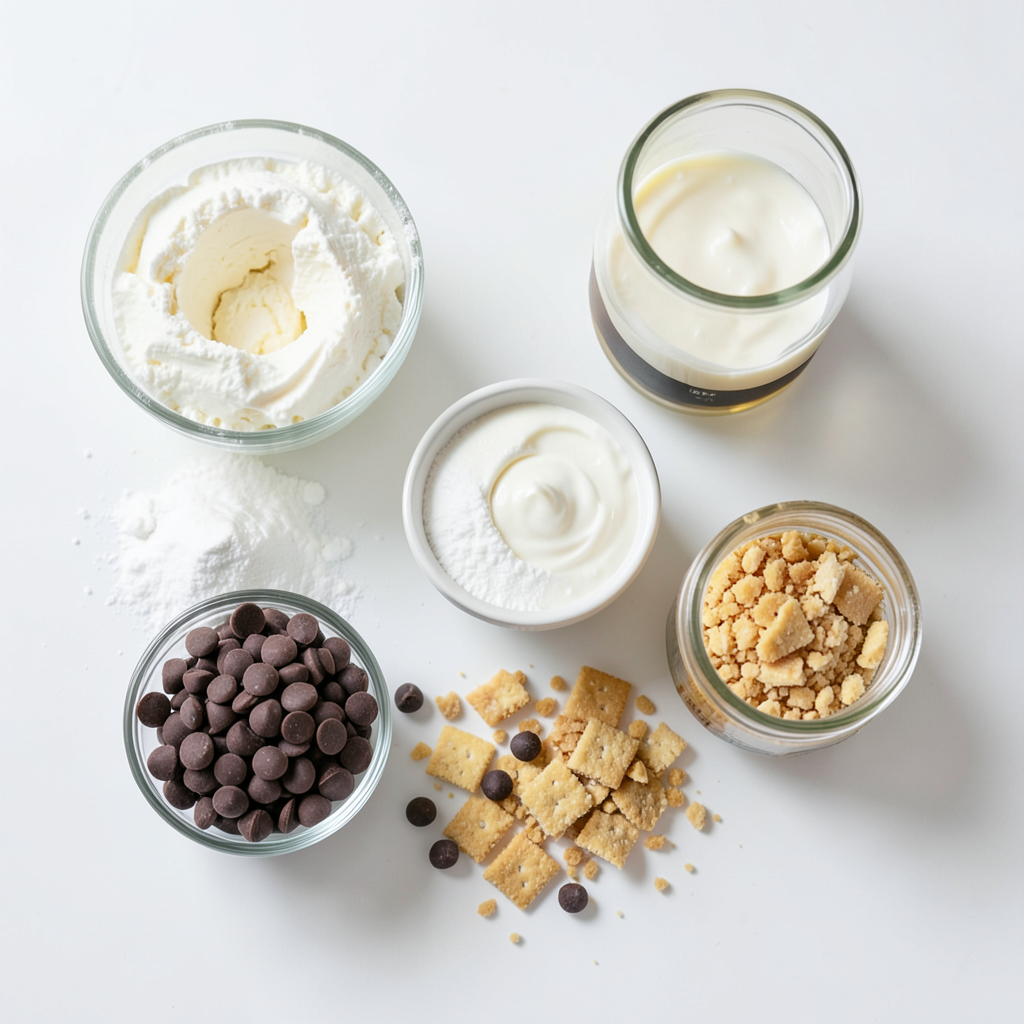
List of Key Ingredients
- 8 oz cream cheese, softened to room temperature
- 1/2 cup powdered sugar, sifted
- 1 teaspoon pure vanilla extract
- 1/2 cup heavy cream, cold
- 1 cup semi-sweet chocolate chips
- 2 tablespoons coconut oil
- 1/4 cup crushed graham crackers
To make chocolate covered cheesecake bites, you need just a few key items. First, use cream cheese to give a rich base. Next, powdered sugar adds sweetness. Vanilla extract gives a lovely flavor. The heavy cream helps create a light and fluffy texture.
For the chocolate coating, semi-sweet chocolate chips work best. Add coconut oil to help the chocolate melt smooth and shiny. Finally, crushed graham crackers are the perfect crunchy topping.
Recommended Equipment
- Mixing bowls
- Electric mixer
- Cookie scoop
- Parchment paper
- Baking sheet
To prepare these bites, you will need some simple tools. Mixing bowls are essential for combining ingredients. An electric mixer speeds up the process, making it easier to whip the cream and mix the filling. A cookie scoop helps portion the cheesecake mixture into even bites, while parchment paper ensures nothing sticks to the baking sheet. Using a baking sheet will make transferring your bites to the freezer a breeze.
Having the right equipment can make your cooking experience more fun and smooth.
Step-by-Step Instructions
Preparing the Cheesecake Filling
To make the filling, start with 8 oz of cream cheese. It should be soft and at room temperature. In a large bowl, combine the cream cheese, 1/2 cup of sifted powdered sugar, and 1 teaspoon of pure vanilla extract. Use a hand mixer and beat it until it is smooth and creamy. You want to avoid any lumps.
Next, we need to whip the heavy cream. Pour 1/2 cup of cold heavy cream into another bowl. Use an electric mixer on high speed. Whip the cream for about 2-3 minutes until you see stiff peaks. This means it should hold its shape well. Now, gently fold the whipped cream into the cream cheese mixture with a spatula. This step adds air and makes the filling light and fluffy.
Forming the Cheesecake Bites
Now, let’s shape the cheesecake bites. Line a baking sheet with parchment paper. Use a cookie scoop or your hands to portion out the cheesecake mixture. Roll each portion into a ball about 1 inch in diameter. Place each ball onto the lined baking sheet.
Once you have rolled all the bites, it is time to freeze them. Put the baking sheet in the freezer for at least 30 minutes. This will help them firm up so they hold their shape when coated.
Coating with Chocolate
While the cheesecake bites freeze, we can melt the chocolate. In a microwave-safe bowl, combine 1 cup of semi-sweet chocolate chips with 2 tablespoons of coconut oil. Heat the bowl in the microwave in 30-second intervals. Stir the mixture in between until the chocolate is smooth. This should take about 1-2 minutes total.
After the cheesecake bites have set, take them out of the freezer. Using a fork, dip each cheesecake ball into the melted chocolate. Make sure each bite is fully coated. Gently shake off any extra chocolate.
While the chocolate is still wet, sprinkle some crushed graham crackers on top. This adds a crunchy texture and extra flavor. Place the chocolate-covered bites back on the lined baking sheet. Return them to the freezer for about 15 minutes. This helps the chocolate set completely. After that, your treats are ready to enjoy!
Tips & Tricks
Achieving the Perfect Texture
To get the best texture in your cheesecake bites, remember a few key points. First, make sure your cream cheese is at room temperature. Cold cream cheese will not mix well. It will stay lumpy, and you want it smooth.
Next, when you whip the heavy cream, use a clean bowl. Beat it on high speed until it forms stiff peaks. This should take only 2-3 minutes. After whipping, fold it gently into your cream cheese mix. Use a spatula and be careful. You want to keep the air in the whipped cream. This step makes the bites light and fluffy.
Presentation Ideas
For serving these cheesecake bites, think outside the box. You can place them on a decorative platter. Drizzle some melted chocolate on top for a fancy look. You could also use colorful sprinkles or nuts for a pop of color.
Another fun idea is to arrange the bites in small cupcake liners. This way, they look cute and are easy to grab. You can even add fresh fruit, like raspberries or strawberries, on the side for extra flair.
Avoiding Common Mistakes
While making your cheesecake bites, you might face a few common issues. One problem is chocolate clumping. To prevent this, melt the chocolate slowly. Heat it in short bursts in the microwave. Stir in between heating so it melts evenly.
Also, ensure your cheesecake bites hold their shape. After rolling them, freeze them well. If they are too soft, they will fall apart when dipped in chocolate. A solid freeze for at least 30 minutes is key. This helps keep them intact during the chocolate coating process.
Pro Tips
- Chill Your Tools: Before mixing, chill your mixing bowl and beaters in the freezer for 10-15 minutes to help achieve a lighter whipped cream texture.
- Quality Chocolate Matters: Use high-quality chocolate chips for a richer flavor and smoother coating. This will enhance the taste of your cheesecake bites significantly.
- Experiment with Flavors: Feel free to add zest of lemon or orange to the cream cheese mixture for a refreshing twist on the classic flavor.
- Storage Tips: Store the cheesecake bites in an airtight container in the freezer for up to one month. They make for a quick and indulgent treat anytime!
Variations
Flavor Customizations
You can easily change the flavor of your cheesecake bites. Adding fruit or flavored extracts can make them unique. For example, mix in some raspberry puree or lemon zest. You can also use different chocolate varieties. Try milk chocolate or dark chocolate for a new taste. Each choice will give your bites a fun twist.
Dietary Adjustments
Need a gluten-free option? Simply use gluten-free graham crackers in your recipe. This swap keeps the taste while meeting dietary needs. If you want a vegan alternative, replace cream cheese with a nut-based cream. Use coconut cream instead of heavy cream, and choose dairy-free chocolate chips. These changes make the bites fit for everyone.
Alternative Coatings
You can get creative with coatings to add texture. Instead of crushed graham crackers, try crushed nuts or colorful sprinkles for a fun look. Coconut flakes can also add a tropical twist. Each coating will give your cheesecake bites a new flavor and appearance. Mix and match until you find your favorite combination!
Storage Info
Best Practices for Storing
To keep your chocolate-covered cheesecake bites fresh, store them properly. You have two main options: refrigeration or freezing.
- Refrigeration: If you plan to eat the bites within a week, put them in the fridge. Use an air-tight container to avoid moisture and odor from other foods.
- Freezing: For longer storage, freeze the bites. Place them in an air-tight container or a freezer-safe bag. Make sure to separate layers with parchment paper to prevent sticking.
Shelf Life
How long do cheesecake bites last? In the fridge, they stay fresh for about one week. If you freeze them, they last up to three months. Just remember to label your container with the date for easy tracking.
Reheating Tips
Best methods for maintaining texture? You don’t need to reheat these bites. Enjoy them chilled or let them sit at room temperature for a few minutes. This keeps the creamy texture intact. If you must reheat, use a microwave in short bursts to avoid melting the chocolate.
FAQs
Can I make these cheesecake bites in advance?
Yes, you can make these cheesecake bites ahead of time. Prepare them and freeze the bites. You can store them in an airtight container. They stay good for up to three weeks in the freezer. Just take them out before serving. Let them sit for a few minutes to soften slightly.
How do I know if the chocolate is melted properly?
To check if the chocolate is melted, use a microwave-safe bowl. Heat it in 30-second intervals. Stir the chocolate each time. It should be smooth and glossy when done. If you see lumps, continue heating. Don’t rush this step; it’s key for a nice coating.
What can I use instead of heavy cream?
If you don’t have heavy cream, you can use half-and-half or whole milk. For a thicker whip, try coconut cream. Just chill it first, then whip it. These alternatives change the taste a bit but still work well.
Where can I buy pre-made cheesecake bites?
You can find pre-made cheesecake bites at specialty dessert shops or bakeries. Some grocery stores carry them in the frozen section. Check online too. Many bakeries offer delivery options for a sweet treat right to your door.
These cheesecake bites are simple and fun to make. We covered key ingredients and recommended tools. You learned step-by-step instructions for the perfect treat. I shared tips to avoid mistakes and improve texture. You can customize flavors and coatings to fit your taste.
Remember, with the right preparation and storage, these treats last longer. Enjoy creating these delicious bites for any occasion! Your friends will love them.